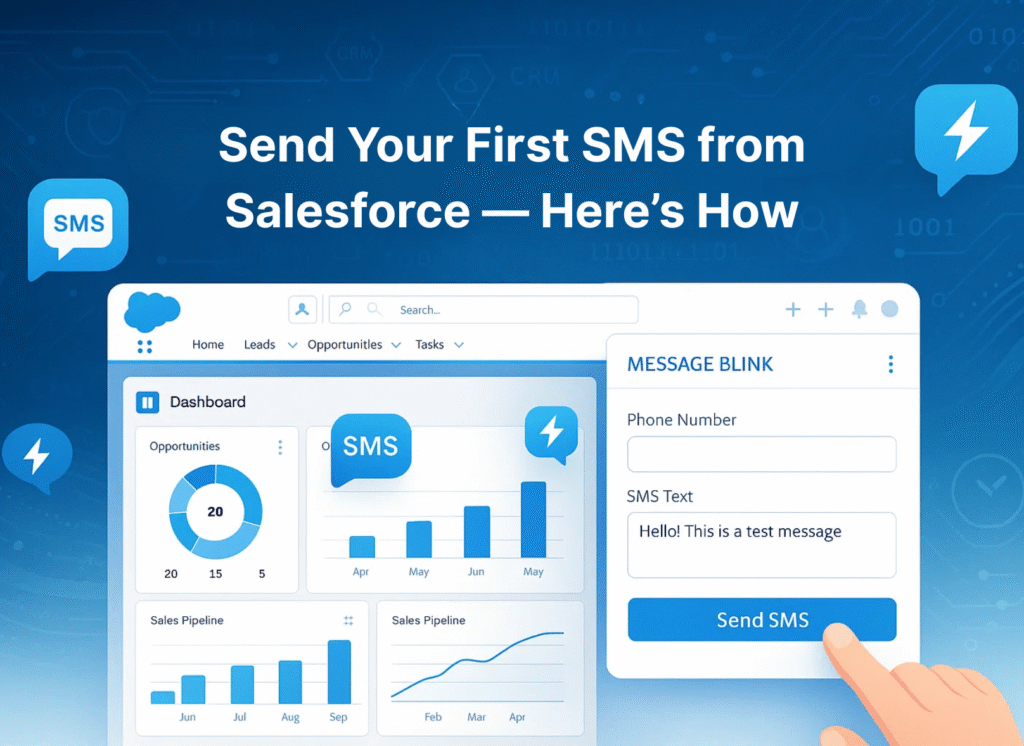
Salesforce SMS means sending and receiving text messages directly from Salesforce records such as Leads, Contacts, Opportunities, and Cases. It covers one‑to‑one messages, bulk SMS campaigns, list view sends, and automated SMS triggered by Salesforce Flow and other automation tools. Message Blink, built by Ex-Salesforce ISV Partner Account Manager is a 100% Salesforce native SMS app that enables these Salesforce SMS capabilities inside your existing org, without relying on an external tool or separate database.
What is Salesforce SMS?
Salesforce SMS is the ability to send and receive SMS messages from within Salesforce, using standard objects, page layouts, and automation rather than a separate messaging system. When configured correctly, teams can log every message on the related record, use Flows to trigger texts automatically, and report on delivery and responses alongside other CRM data.
Most organizations implement Salesforce SMS with a Salesforce native app so admins can manage permissions, automation, and templates with familiar tools. Message Blink provides this native layer, exposing SMS components on standard and custom objects and handling message delivery in the background.
Salesforce SMS Use Cases with Message Blink
-
Send one‑to‑one SMS directly from Lead, Contact, Account, Opportunity, and Case records using Message Blink components on the page layout.
-
Run bulk Salesforce SMS campaigns from Campaigns and report results to reach thousands of recipients with a few clicks.
-
Use list view SMS to contact selected Leads or Contacts without exporting data or leaving Salesforce.
-
Automate SMS with Salesforce Flow for events such as new leads, opportunity stage changes, upcoming appointment reminders, and case updates.
-
Track replies and conversation history on the related Salesforce records so sales, service, and marketing teams always see the full communication timeline.
Step 1: Install Message Blink from Salesforce AppExchange
-
Visit the AppExchange Listing:
- Go to the Salesforce AppExchange and search for “Message Blink” or check this installation video.
- Click the “Get It Now” button on the Message Blink AppExchange listing page.
-
Log in to Salesforce:
- Login in with your Salesforce credentials to access the environment (sandbox or production) where you want to install Message Blink.
-
Choose Installation Options:
- Select whether to install for all users or specific profiles based on your organization’s needs.
- Review and confirm the installation settings as prompted by Salesforce.
- Accept the terms and conditions, then click Install.
-
Wait for Installation:
- The installation process typically takes a few minutes. Message Blink is a native Salesforce app, so no external API connectors or complex developer setup are required.
Step 2: Configure Message Blink in Salesforce
-
Access Message Blink Settings:
- After installation, navigate to the App Launcher in Salesforce and select the Message Blink app or tab.
- Alternatively, go to Setup > Apps > Installed Packages make sure Message Blink Installed.
-
Set Up Permissions Sets:
- Make sure these Permission Sets are Assigned to users.
- Assign permissions to users who will send or manage SMS messages.
-
Configure Phone Number Fields:
- Ensure that contact, lead, or custom object records in Salesforce have a field for mobile numbers (e.g., MobilePhone or a custom field like SMS_Phone__c)
- Check out this Post Installation Guide Video.
Step 3: Set Up SMS Messaging Features
-
Create SMS Templates:
- Navigate to Message Templates > SMS Templates in Salesforce.
- Create templates for common use cases like appointment reminders, order confirmations, or promotional messages.
- Use dynamic fields for personalization (e.g., “Hello [FirstName], your order #[OrderID] is confirmed”). Message Blink supports merge fields to pull data from Salesforce records.
- Preview the message template.
-
Set Up Messaging Triggers:
- Use Salesforce Flows to automate SMS sending based on triggers like lead updates, order confirmations, or case status changes.
- Use Action named “Send SMS” in Flows to send SMS.
- Watch how to automate SMS with Salesforce Flow using Message Blink.
-
Enable Bulk SMS Campaigns:
- In Message Blink, go to the bulk messaging tab or component (accessible from Leads, Contacts, or Campaigns).
- Select your audience using a Salesforce report, campaign member list, or manual selection of records.
- Choose a template, schedule the message, or send immediately.
- Check out the Bulk SMS Guide to send SMS from List Views, Reports and Campaigns.
-
Set Up Two-Way Messaging:
- Configure Message Blink to handle incoming SMS replies, which are logged directly in Salesforce under the relevant contact or lead record.
- Set up automated responses for specific keywords (e.g., replying to “HELP” with support information).
Step 4: Ensure SMS Compliance
See the full Salesforce SMS compliance guide.
-
Collect Opt-In Consent:
- Use Message Blink to automate keyword-based opt-ins (e.g., “Text START to 12345”).
- Add an SMS opt-in checkbox to web forms or landing pages linked to Salesforce, ensuring clear language like: “I agree to receive SMS updates from [Company Name]. Text STOP to unsubscribe.”
- Store opt-in consent in a custom field like SMS_OptIn__c for compliance tracking.
-
Manage Opt-Outs:
- Configure Message Blink to recognize opt-out keywords like “STOP” and mark contacts as unsubscribed.
- Log opt-out timestamps in a custom object for compliance audits to adhere to regulations like TCPA and CTIA.
- For more detail, see your Salesforce SMS TCPA guide 2025.
-
Include Compliance Messaging:
- Ensure every SMS includes opt-out instructions (e.g., “Reply STOP to unsubscribe”).
- Use Message Blink’s templates to standardize compliance messaging across campaigns.
Step 5: Test and Monitor SMS Campaigns
-
Send Test Messages:
- Before launching a campaign, send test SMS messages to a small group of internal users to verify template formatting, personalization, and delivery.
-
Track Performance:
- Use Message Blink’s analytics and reports in Salesforce to monitor delivery rates, open rates, response times, and engagement metrics.
- Access reports in Salesforce to analyze campaign performance and refine messaging strategies.
-
Adjust as Needed:
- Based on analytics, tweak templates, timing, or audience segmentation to improve engagement and ROI.
Step 6: Scale and Automate
-
Integrate with Other Channels:
- Message Blink supports WhatsApp. Configure these integrations if needed for omnichannel communication.
-
Automate Workflows:
- Set up automated workflows for follow-ups, reminders, or lead nurturing using Message Blink’s Actions
- Example: Automate an SMS follow-up 5 minutes after a missed call or web form submission.
-
Collaborate with Teams:
- Use Message Blink’s shared team inbox to manage SMS replies collaboratively, ensuring all interactions are logged in Salesforce for a 360-degree view of customer communication.
Additional Tips
- Start Small: Begin with a single use case (e.g., appointment reminders) to test Message Blink’s functionality before scaling to bulk campaigns.
- Leverage Support: Message Blink offers customer support and documentation. Contact their team (e.g., via [email protected]) for assistance during setup or review the Message Blink FAQ.
- Stay Updated: Check Message Blink’s AppExchange listing or website for updates on new features or compliance requirement


